

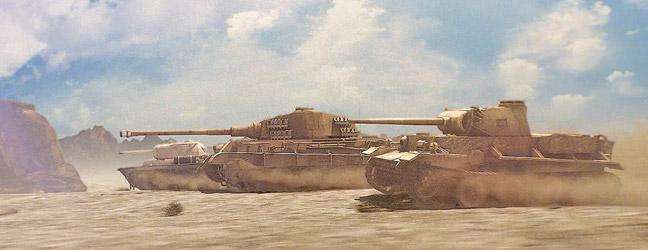


[Guide] - How to Win Assault Mode as an Attacker
Дата: 02.07.2012 01:58:50
 Garbad, on Jul 01 2012 - 21:35, said: This guide will discuss and demonstrate how to win as an attacker
in assault mode. Comments welcome.
Garbad, on Jul 01 2012 - 21:35, said: This guide will discuss and demonstrate how to win as an attacker
in assault mode. Comments welcome.GENERAL STRATEGY:
- You MUST concentrate your force. Because the defenders have a major advantage, the only realistic way to win is to concentrate firepower into a place where you have temporary numerical superiority, and roll them before they can react. You will not win a war of attrition (like most people play on most maps), a snipe war, or a multifront attack very often.
- Defense should be very minimal. Heavies should not defend at all, ever. The only defense that is ever required is a fast mover who can counterattack fast tanks (to protect arty). A single mid tier medium is usually best at this role. This tank also serves as eyes on the weaker flank.
- Snipers are Not very valuable. In general, you want only 1-2 tanks not attacking with the main blob. These tanks are to protect arty, keep eyes on the field generally, and to provide overwatch. But since the base defenders know damn well where you can snipe from, sniping will get limited results sitting back. You simply do not have the time to snipe and win.
- COORDINATE! If you are in a platoon, stick close together (unlike a regular map, its essential to support each other). Tell your pubs what you are going to do, and ask them specifically to help. Most are learning to do this, and will help. If you are stuck with mouthbreathers, you will likely lose (players under 45% usually contribute literally nothing, and will probably sit uselessly in base bitching about how bad their teams always are). You can work with a 50%er, so do so.
Malinovka

One of the most hated maps in WOT, ass mode adds a new level by forcing the poor attackers to attack uphill across a field with a time limit. Yes, WG thinks this is balanced.
The defense spawns on top of the hill, and many dumb pubbies will sit there. Fortunately, this is a weak position most of the time. In order to fire, they have to crest the ridge, which should give you easy lights and counterfire. Much like a standard map, driving someone off the hill can be tough, but they can't accomplish a whole lot until they come down.
This map allows for two realistic paths of advance - North offers good camo up the hill, and a church to sit behind, but its difficult to advance past the church. Accordingly, this should be the secondary route. A couple of tanks there can tie up a block of the defenders (without having to commit too hard) and provide supporting fire into the town and onto the hills along the south. They finally allow for a pincer if things go well. South offers good camo almost to the cap, as well as ridges that provide limited cover. It also offers a lot more space to attack from different paths, allowing for a mass to move a lot better.
One of the primary weaknesses of south is a good defense scout taking the bushes in the middle and/or active scouting you running along the ridge. You can deal with this by moving as far as possible to the south before moving north (giving you good camo/ridge to work with) and/or sending a medium to flush out the scout while using the shadow of the middle hills to shield him from fire.
Here's an example of my heroic KV-5 leading an attack up the south:
http://www.fileswap.com/dl/ILSezwkfX6/
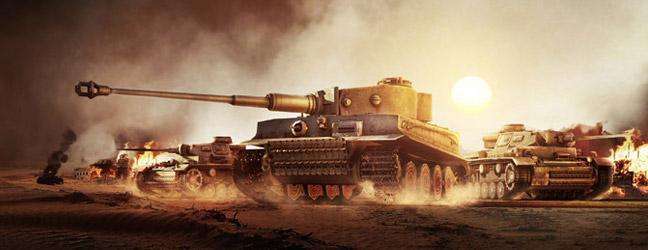
SAND RIVER:

Sand river is possibly even worse balanced than campinova. One of the worst features of this map is the ridge right in the middle. On this ridge, tanks can hull down and spot almost the entire map, allowing the defense to rain down on you early and often. Its also effectively impossible to attack the ridge without arty. Accordingly, you must avoid contact with tanks on the ridge at all cost. Hostile arty also has a clear angle to fire almost anywhere from a position of near complete safety.
This map has four basic ways to advance. The E3 gap is suicide. Any tanks wandering down this path are arty bait with no cover and no way to hide, plus they have to go up and over to fight tanks on the ridge. There is no way to do this without losing massive HP, and accordingly, this path should never be used. However, someone should keep an eye on it because mid/late game its an easy, direct path for a scout to get into your arty, so a single defender in G1 or D2 is prudent. F7 has similar flaws, although its much more shielded by the terrain and can be used on occasion. The C1 path offers decent, familiar sniping position and reasonable cover/concealment. However, since you can't win by camping, its far too easy to get to this point and stagnate. Furthermore, advancing along A2 can be a serious challenge, as there is no effective arty cover for the attackers yet defenders have cover. Its theoretically possible to punch through here, but I would only attempt it in fast tanks.
The key area attackers need to control is the G9 region. With two paths in (allowing for flank attacks/pincers) and decent cover/concealment, this is a decent place to stay alive. More importantly, the defenders have no realistic way to attack this place without paying for it severely, so its easy to mass here early without much risk. From here, hull down firing from E9 can start to sweep out the inner bowl, plus tanks can flow up to the C9 area and such to provide another angle of attack with decent cover. Meanwhile, tanks on the camper ridge can provide fire support (although they are at risk), and should be able to dig out all but the most determined defenders from the bowl. Once the bowl is secure, you can drive defenders off the E and F lines easily, and then swarm/flank any defenders near the cap using familiar tactics.
Here's a battle in my patton showing an east push.
http://www.fileswap.com/dl/Qnjur7c3Ba/
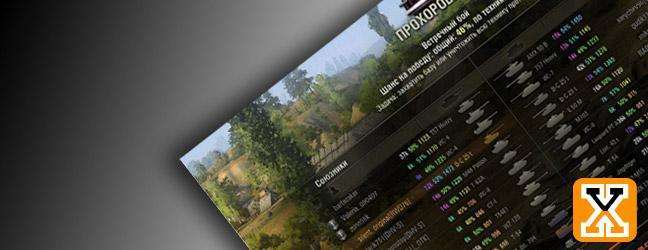
Prokhorovka

Probably the most hated ass map of all, proko combines the worst of the other two maps. The train allows defenders a perfectly safe way to move easily from side to side without risk, to proximity spot attackers, and to hull down in some places. Meanwhile, the hill allows for a reasonably protected sniping spot and is effectively an inner keep of defense if the barbarians somehow manage to breach the outer walls. The defenders have three chokes, each of which requires the attacker to skyline over in single file before moving into the wide open death traps, with no possible cover in any direction. Even minimal scouting will ensure hostile snipers can hit any of the three chokes with ease, regardless of any attempts to hide or find cover. Seriously, WG thought this would be a fair fight. Working as Intended, amirite?
Both the north and the south chokes are simply unassailable. Unless you have a large advantage, you will be picked apart if not outright repulsed. There are limited hull down opportunity on each, but not enough to fire without taking shots back. Nevertheless, its important to have at least a couple of tanks on each ramp as a thread to tie up defenders, prevent scouts from getting through, and to provide a flank when the time comes.
This map turns on the middle. Although its still pretty exposed, some american tanks can fire and spot with some cover, and defenders can only really strike back from a few positions. If they fire from the hill, you can ideally light the hill and sweep it down with arty/sniping from the middle. You are also close enough to light arty or at least see tracers almost anywhere, allowing for good CB ideally. Once the hill is repulsed or pushed back, the middle force can storm the little town, getting some cover to fire from and turning the tables. From here, they can push either way (and as the fresh tanks jump the ramps to engage) force a pincer on their terms. Its not even close to a fair fight, but its the best you've got.
Here is my patton on this map:
http://www.fileswap.com/dl/iuMXdRAjVT/
I might get around to posting the other two maps later.
[Guide] - How to Win Assault Mode as an Attacker